Plesk provides an quick configuration to setup automatic deployment for your application using your favorite code repo platform such as Github, Gitlab or Bitbucket without having a need to write YAML files for deployment. In this case, I reserve those for running other tasks such as tests.
Here is how to setup Plesk and Github for your auto deployment
- Login to your Plesk account and select the domain you want to setup automatic deployment

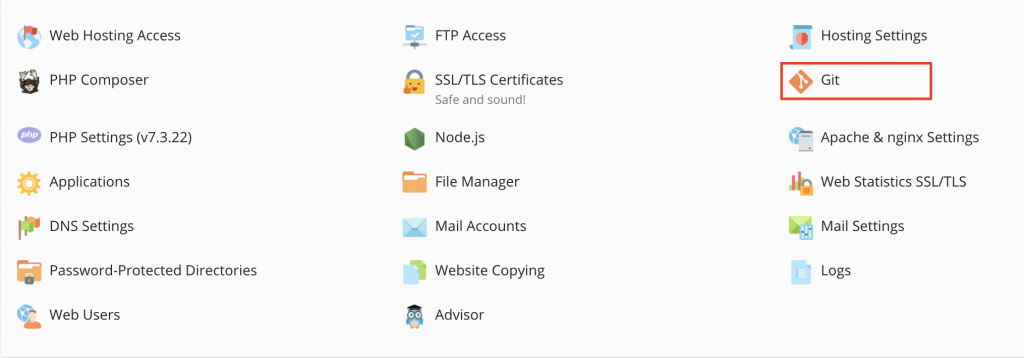
- Select Git from the options
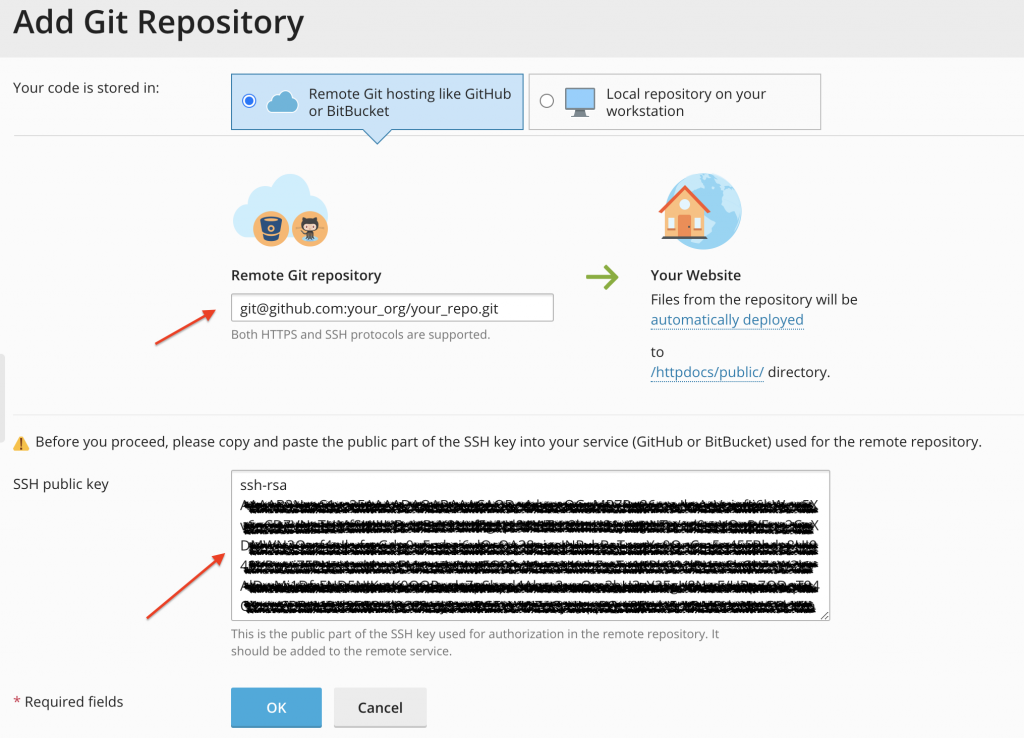
- Paste you Github repo SSH URL
- Under “Your Website”, select whether to automatically deploy or otherwise. Default is automatic deployment.
- Select the root directory for your repo. This will have the document root selected by default which might be different from your deployment directory. For example, if you are deploying a Laravel application, your document root is
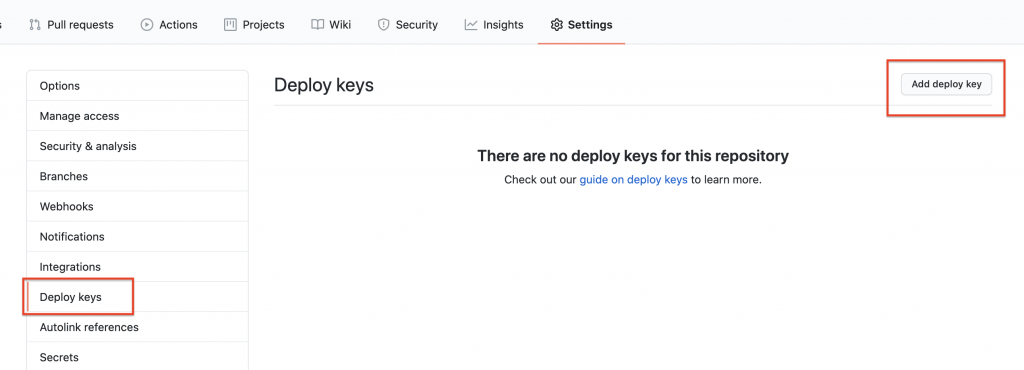
/httpdocs/publicbut deployment will be on/httpdocs/directory - Copy the SSH public key and add it to your Github repo under
Settings --> Deploy Keys

- Navigate to Repository Settings
- Copy the Webhook URL and add to your Github repo under
Settings --> Webhooks

- Open the webhook to make sure that delivery was successful.
That’s it! Now, every time you push to master/main branch, your application will be updated.
You can also create multiple deployments for different branches
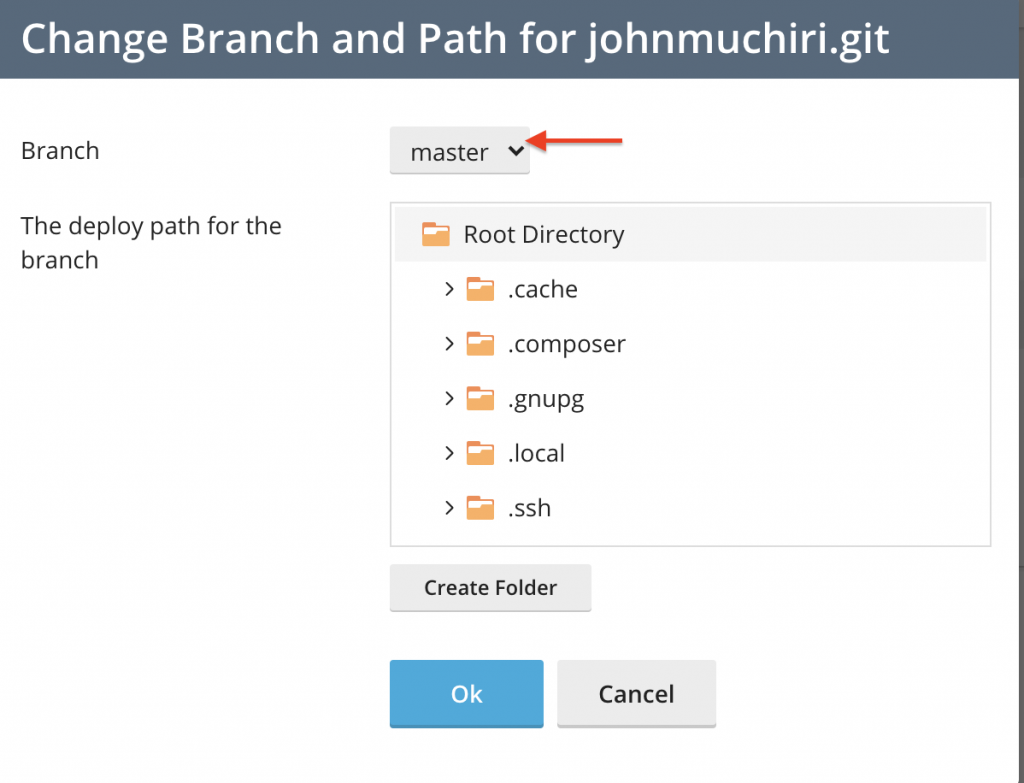
You can also add addition post deployment commands in Plesk under Repository Settings by checking Enable additional deploy actions and entering commands, one per line.
Troubleshooting
The common cause of delivery fail is a misconfigured server. Your Plesk account must be accessible on https://yourdomain.com:8443 and should be secured using SSL.
Your hostname should be yourdomain.com
To correctly configure this, go to Tools & Settings –> Server Settings and enter yourdomain.com in Full Hostname
Now your webhook under Git Repository Settings should look like this
https://yourdomain.com:8443/modules/git/public/web-hook.php?uuid=aa89385e-4343-d3d2-22c9-900fc3e899b6Update Github webhook if this has changed.

